

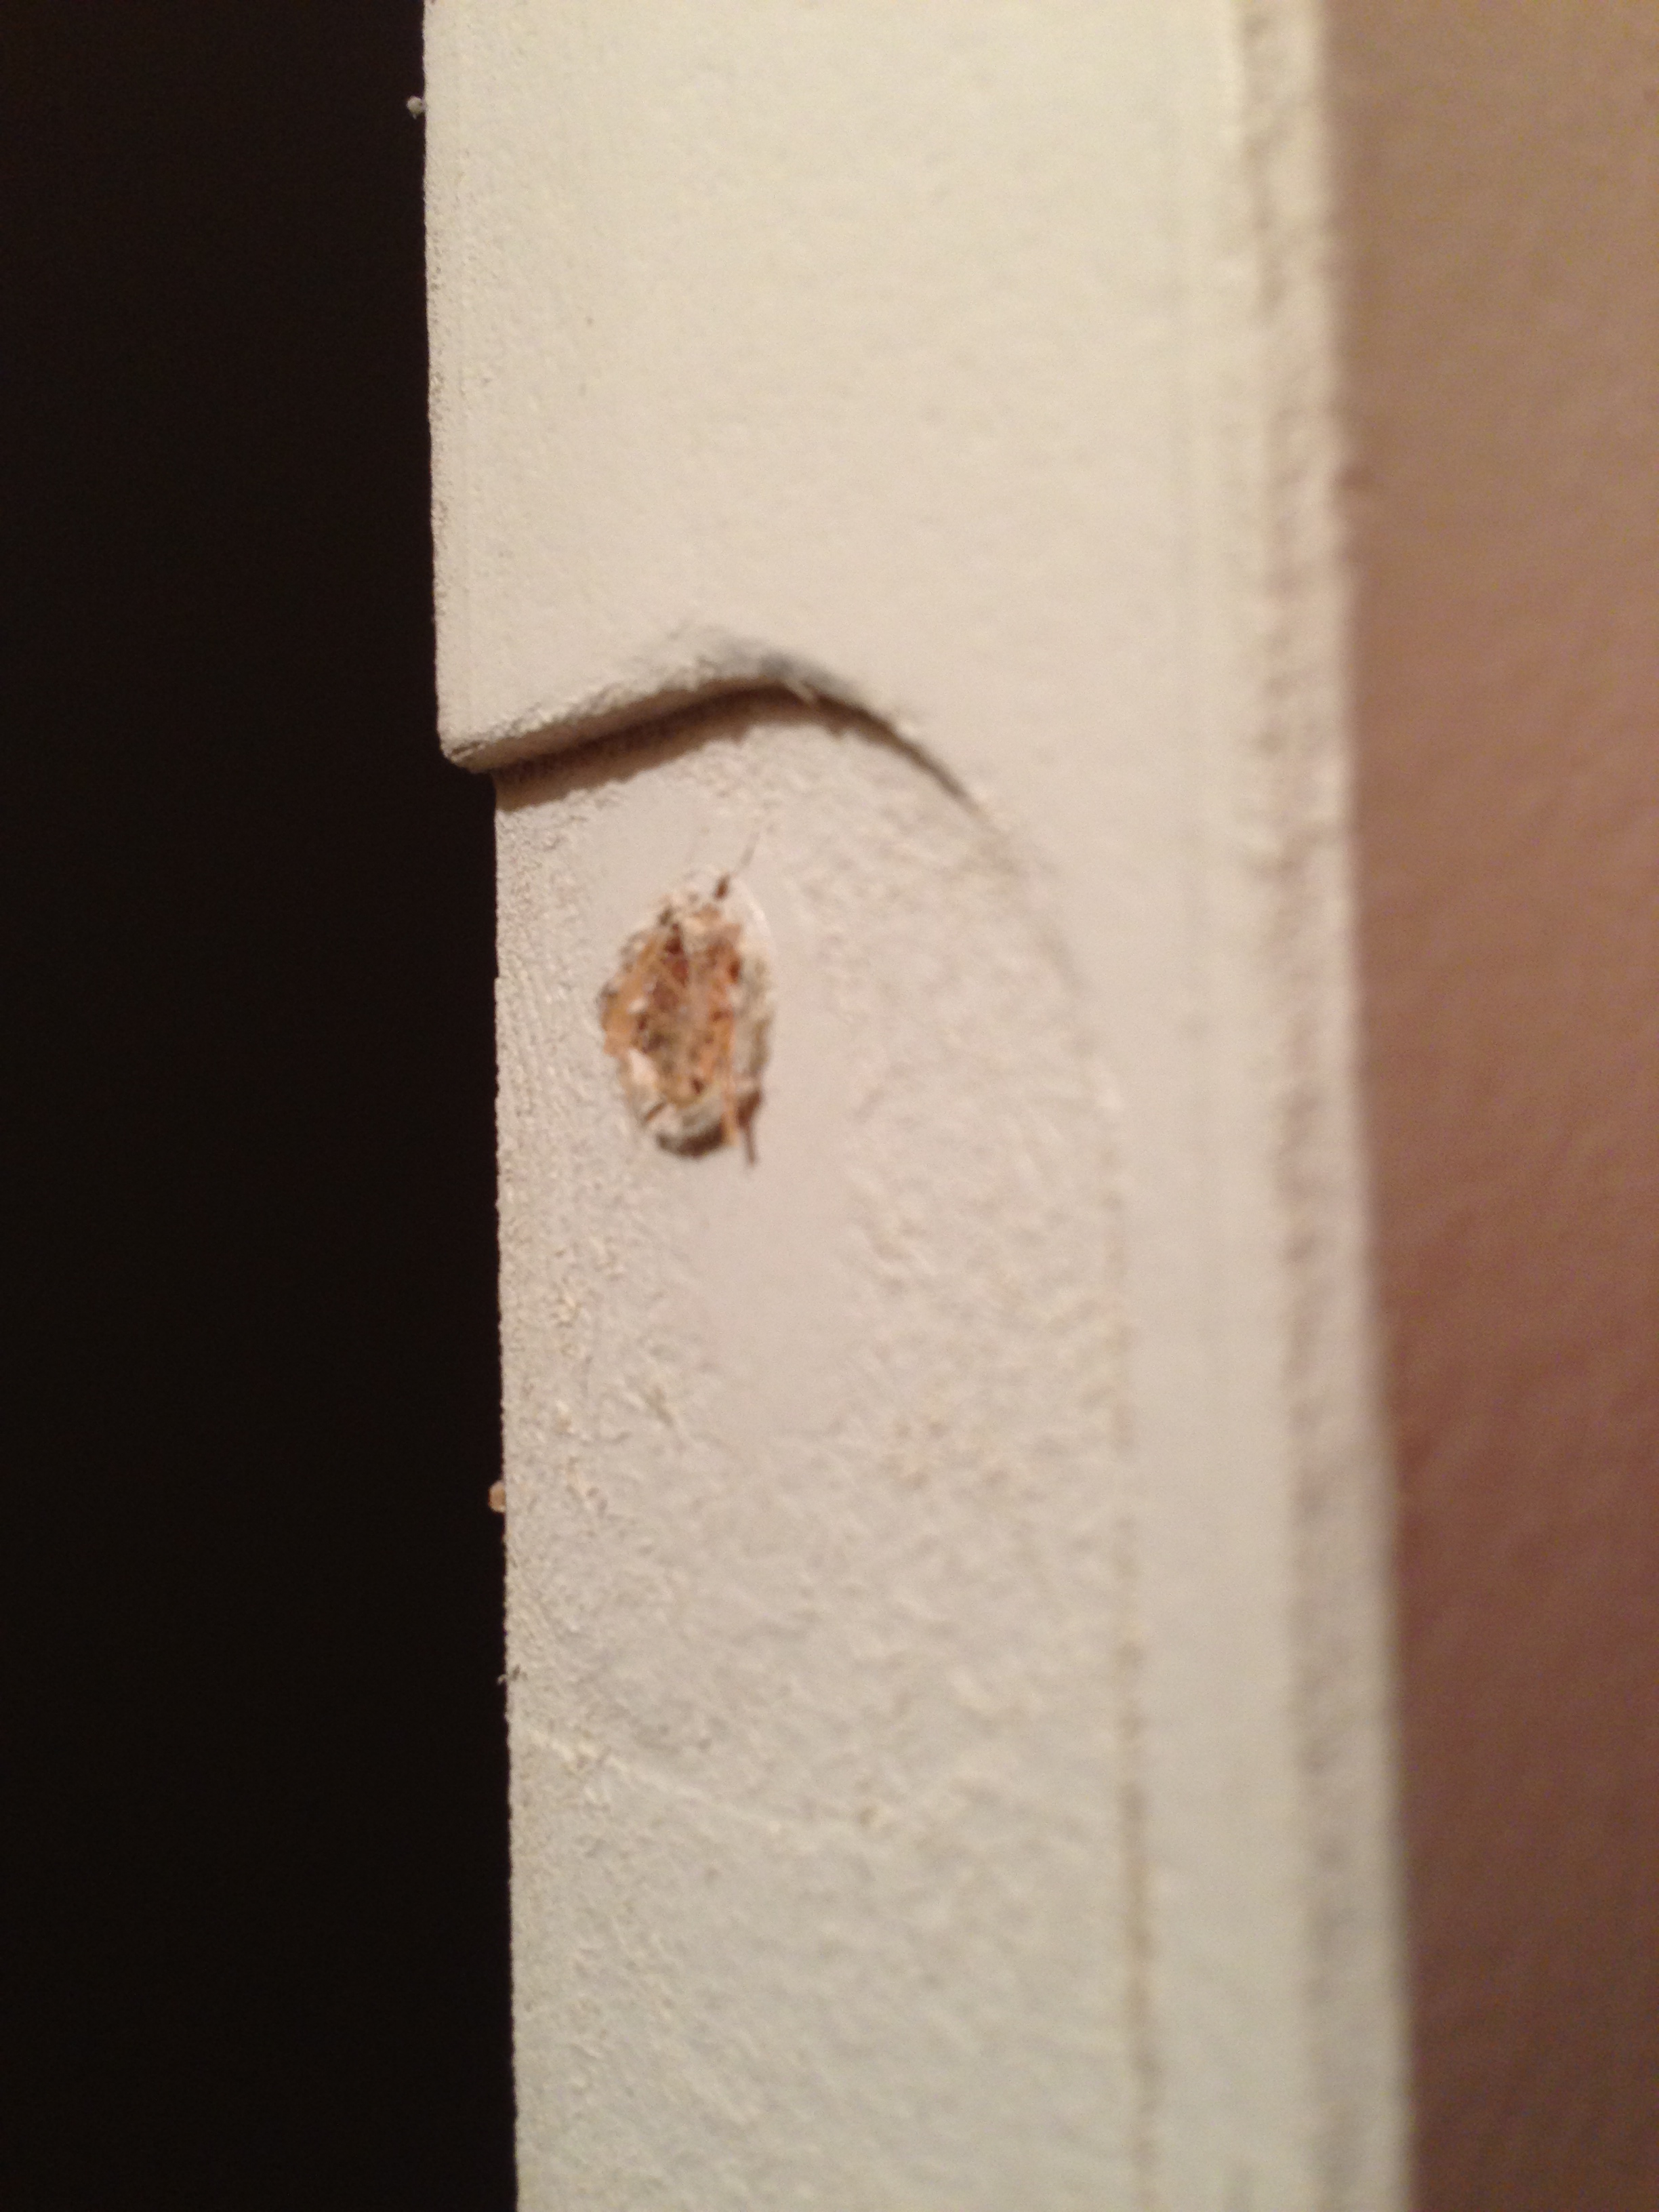
The other day, I opened the door to my basement and the screws of the top hinge ripped out of the door. The funny thing is, I had two emotions at the same time; I was frustrated that I had just added the spring loaded pin assembly to that hinge and it had already broke, and at the same time I was happy that I had another WhyScatFails topic to write about.
There are a lot of factors in why these bolted joints failed but they can all be summed up to the simple fact that this door was not designed to hold this kind of load. These screws were designed to basically hold 1/3 of the weight of the door plus what is noted below.
In normal usage the loads that are on the threads are;
- The screw is tightened causing the screw to be in tension
- Friction in the hinge as the door is opened
- Moment load, due to the center of gravity of the door being about a foot and a half away from the hinge.
- Impact loading when the door is shut hard
As long as the door material and screws can handle these forces, the door is working properly.
Now that I added the spring loaded pin I have added an additional load case. It turns out that each screw of the top hinge now needs to hold an additional 25 lbs (Approximation) of tension every time the door opens. This means that on top of the load put on the wood around the threads by tightening the screws there is another 25 lbs trying to pull the screws out of the wood. The wood just could not hold all of this force and gave way.
Here is the math. Not all three screws are at the same distance from the pivot point. I took the average distance for my math. I really want to get to the fix section of this article so I will not spend any more time on the math.
|
lbs at Spring Jaws |
Jaws Distance in inches |
lbs at Knob |
Knob Distance in inches |
|
|
a |
0.375 |
= |
3.125 |
27 |
|
a |
= | (3.125*27)/.375 | ||
|
a |
= | 225 | lbs | |
Finding the force at the jaws of the spring assembly
|
lbs at Screws |
Screws Distance in inches |
lbs at Spring Jaws |
Jaws Distance in inches |
|
|
a |
1.125 |
= |
225 |
0.375 |
|
a |
= | (225*.375)/1.125 | ||
|
a |
= | 75 | ||
|
3 screws |
a/3 | |||
|
Aproximate additional load at each screw |
= |
25 |
lbs | |
Ok, the Fix.
Any DIY’r can do this. A friend of mine was at my house when this happened and calmly said that is an easy fix. I was so glad to hear that because I had no idea what to do. He said” Just glue in some toothpicks”. That was brilliant. The grain structure of the toothpicks will give just the right material for the screw to grab into. The toothpicks are much better material than the door because they have long connected fibers to spread the load across. The door is made of pressed and glued sawdust.
Step 1: Gather tools and supplies.
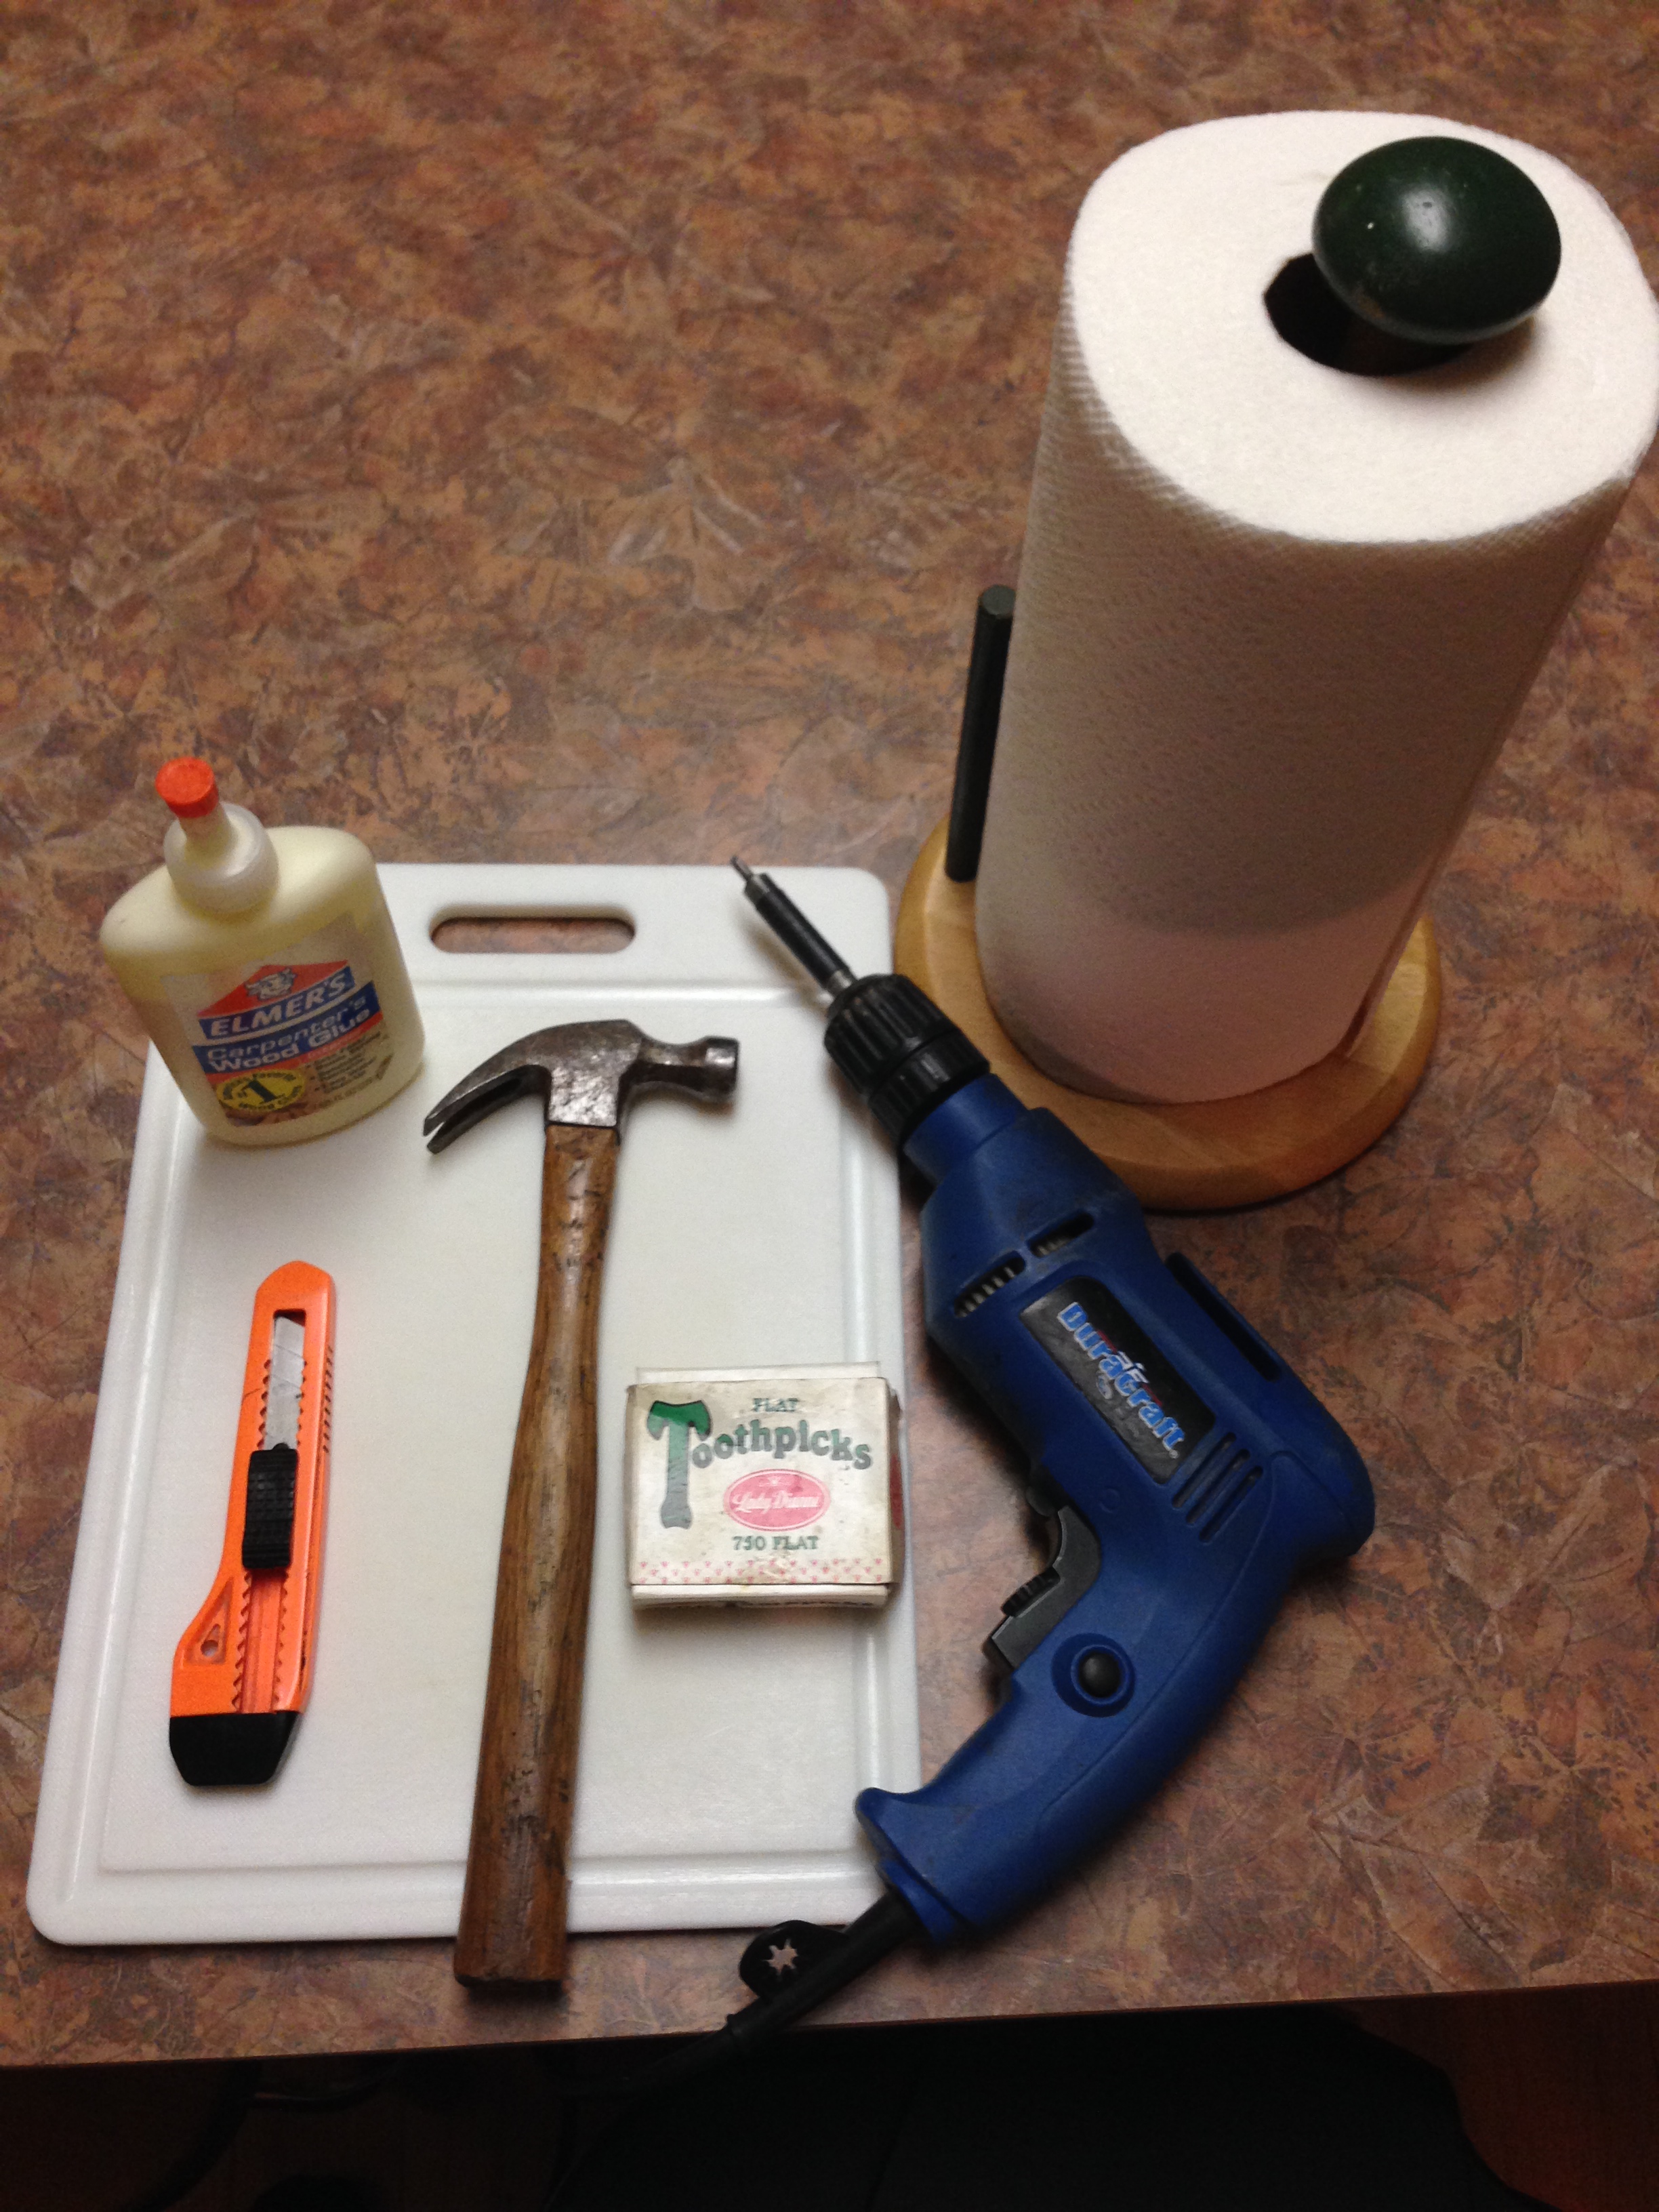
- Toothpicks – I used flat ones
- Wood Glue
- Knife
- Hammer
- Paper towels – The glue might make a mess
- Cutting Board
- Drill with a Phillips head bit
Step 2: Remove the hinge

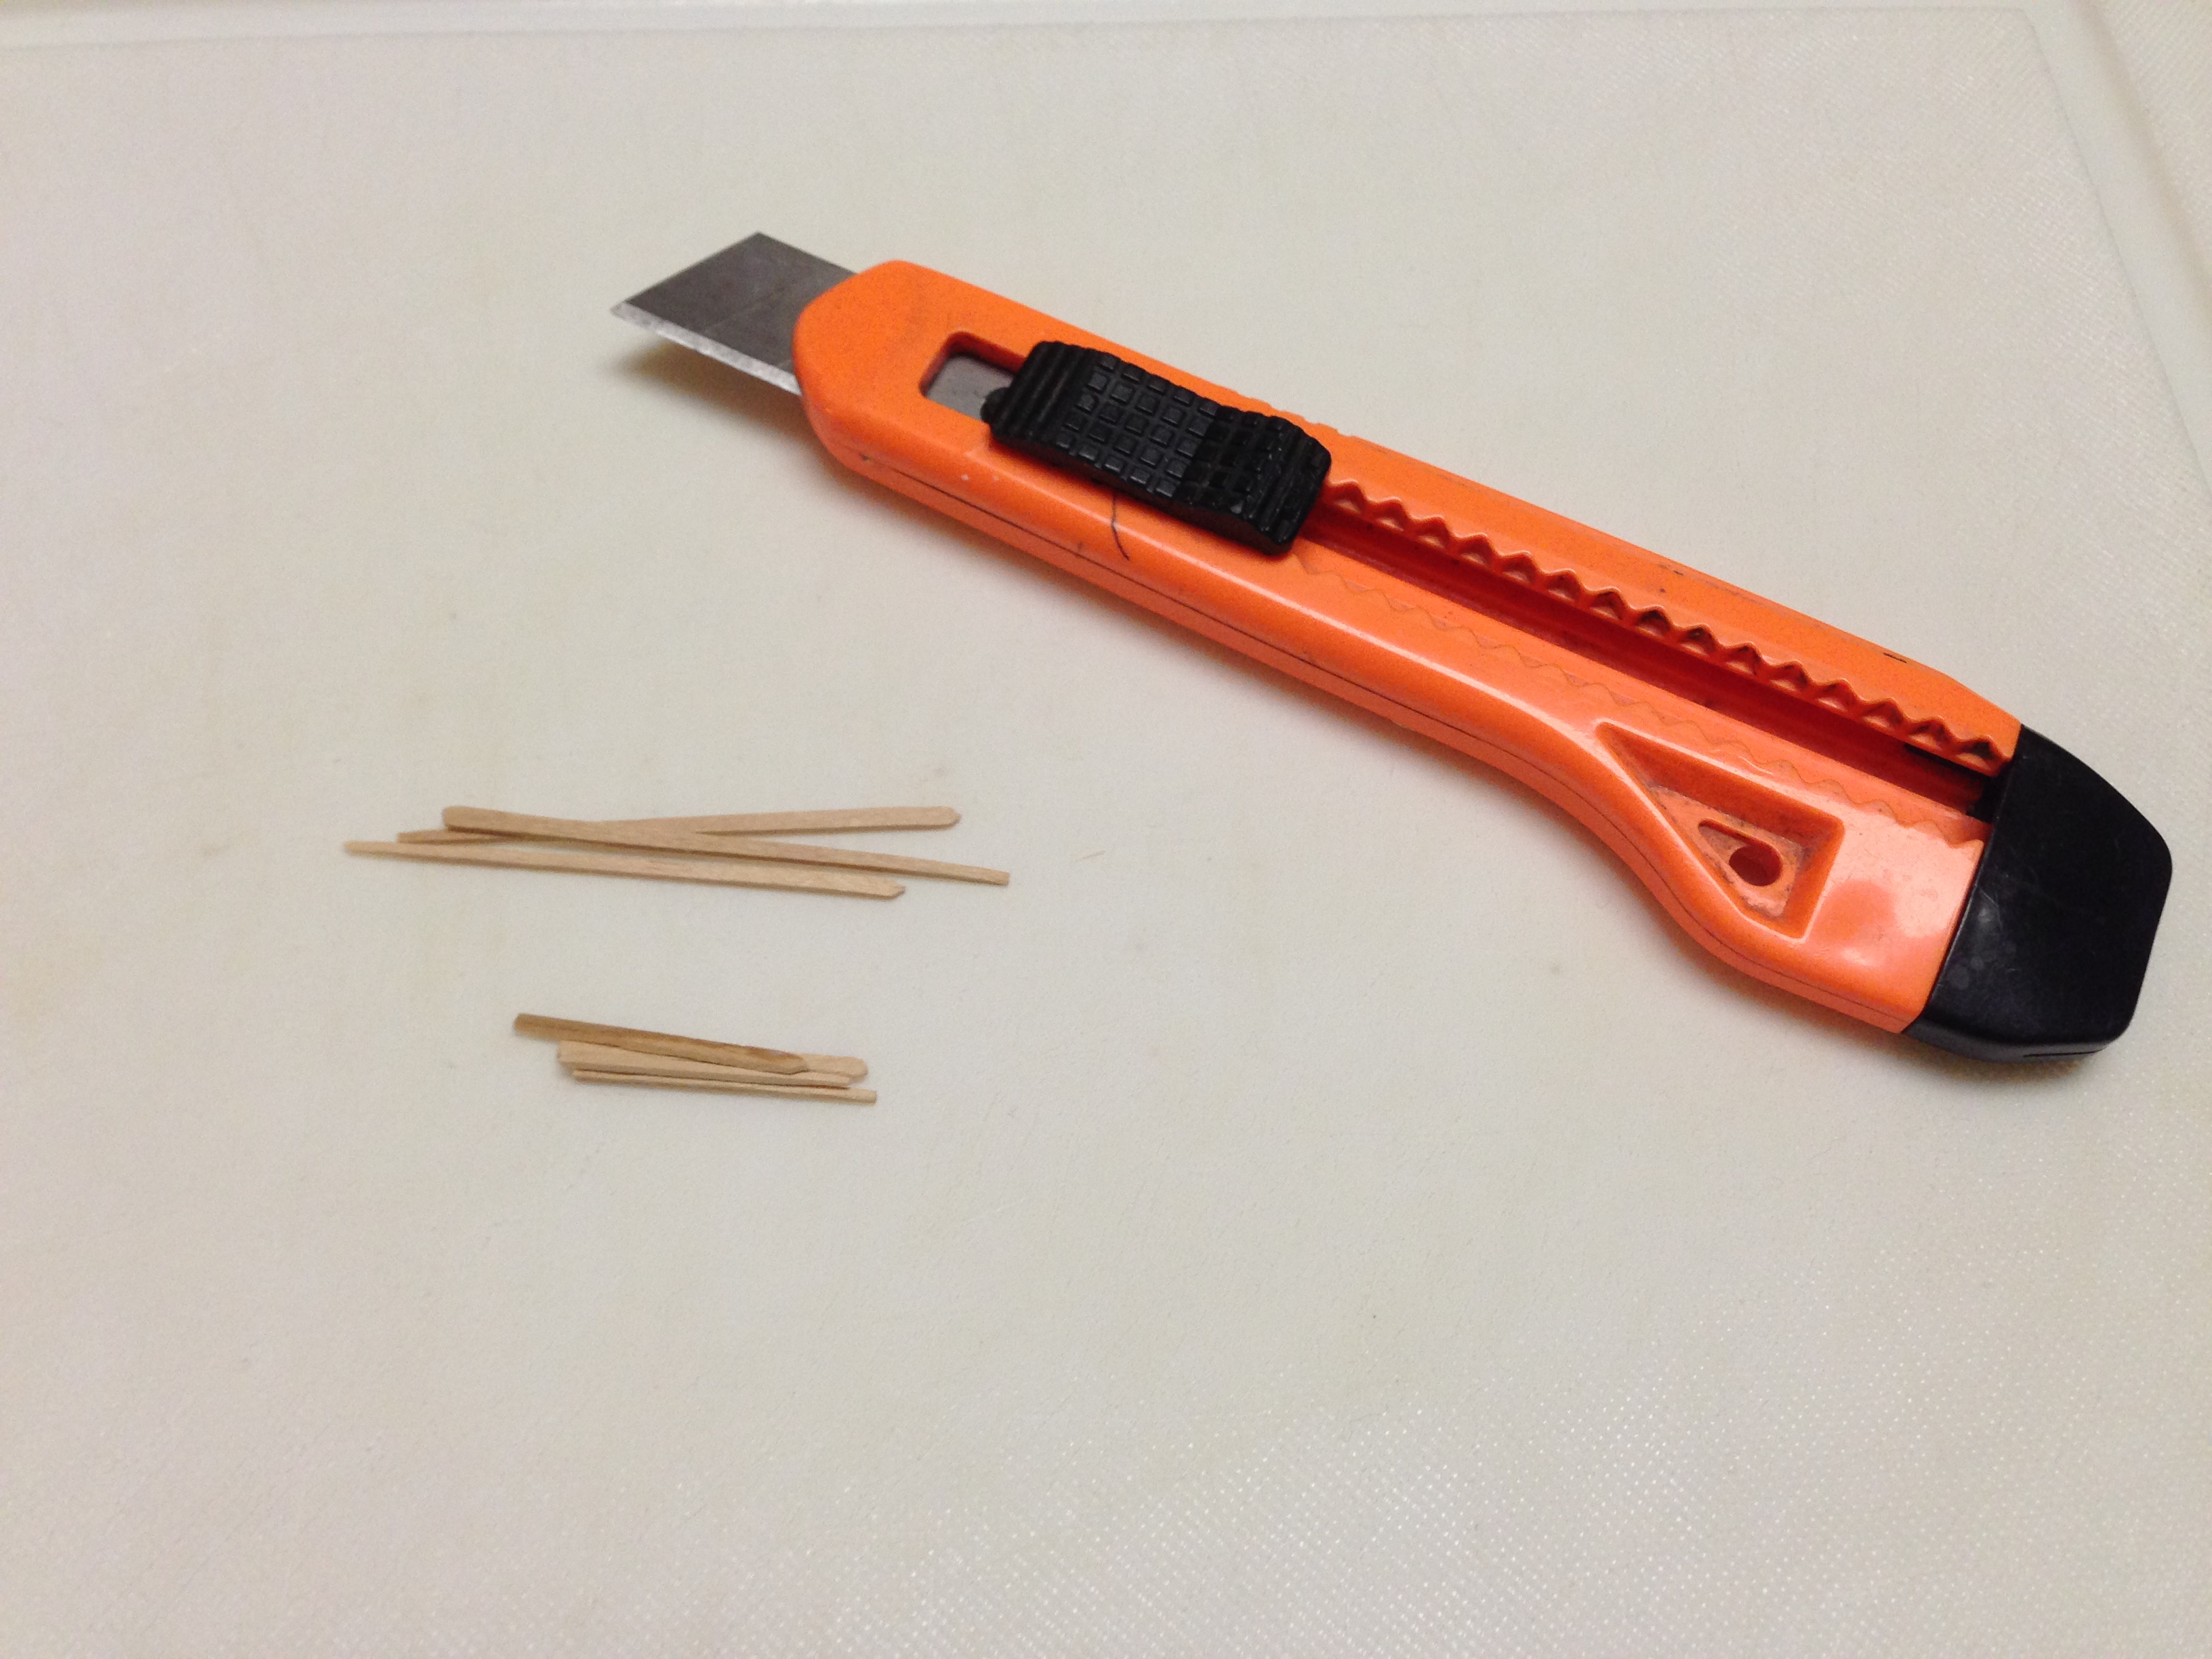
Step 3: Cut a bunch of toothpicks in half because the holes aren’t deep enough to use the full toothpick, and by doing this you will not use as many toothpicks.
Step 4: Glue in the toothpicks.
You will repeat this step for each of the holes. I fixed all 6 holes on this hinge just because I did not want to have to do this again anytime soon.
Step 4a: Determine how many toothpicks will be needed for the hole.
You want the make a bundle of toothpicks. The bundle should be big enough to wedge into the opening of the hole but not be able to push them in without using a hammer.
Step 4b: Coat the hole with glue.
Take one of the toothpicks and put a little glue on the end of it and then using the toothpick spread the glue around in the hole.
Step 4c: Hammer toothpicks in.


Coat the bundle with glue. No need to over do it on the glue, it will go a long way.
Once you are happy with your glue coating, hammer the bundle in the hole until it bottoms out or you run out of toothpick. Clean off excess glue. You can get all of the holes that need fixed to this point and then you should let the glue dry. I let mine dry for an hour. It worked for me. You can decide how long to let yours dry.
Step 4d: Cutting off excess toothpick.
Once the glue is dry, use a sharp knife and cut the toothpicks off flush with the door or jam.
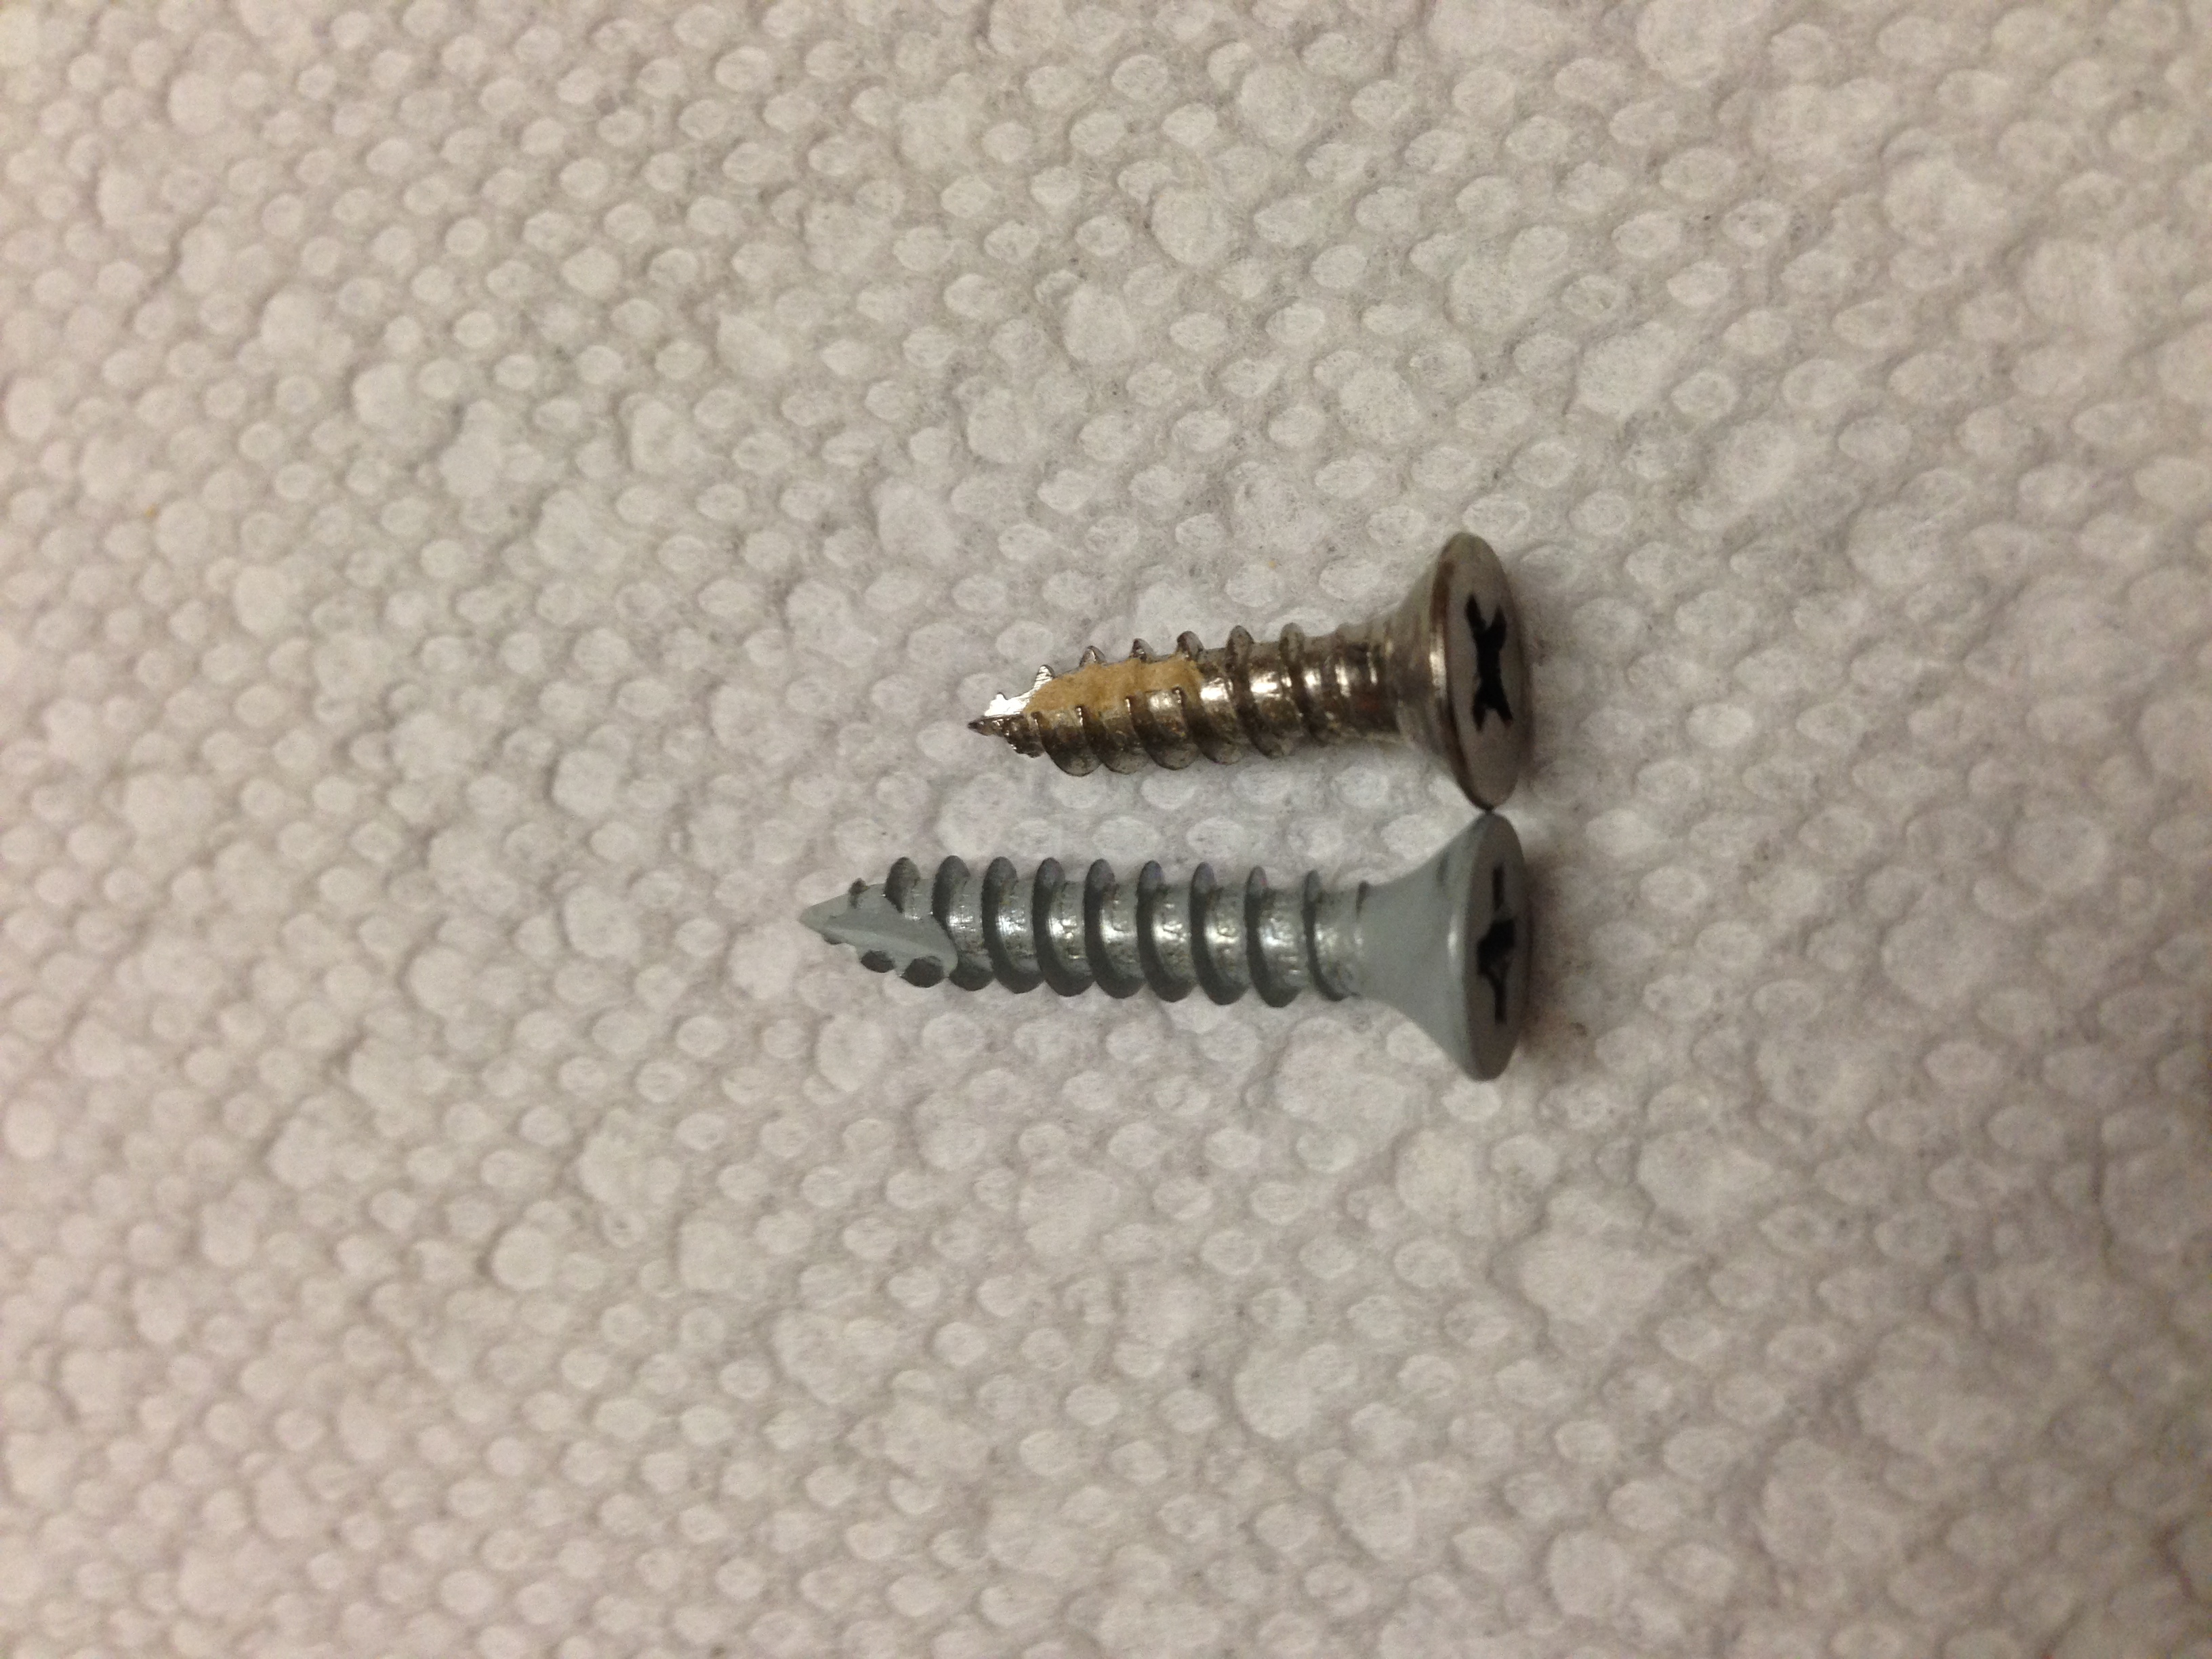
Step 5: Put the hinge back together

I found some longer screws left over from another project. I figured it could not hurt to have extra threads so I used them.
This was a quick and easy fix. In the future, if I add a spring hinge to another door I will do this first instead of waiting for it to fail.
Just a side note, I am looking for a door that is designed for a spring loaded hinge.
If I find one I will update this article.
Best of luck on your project
Leave a Reply